Generate Poster Blog
Personalized Birthday Movie Poster: Photo to Printed Gift
2026-10-01
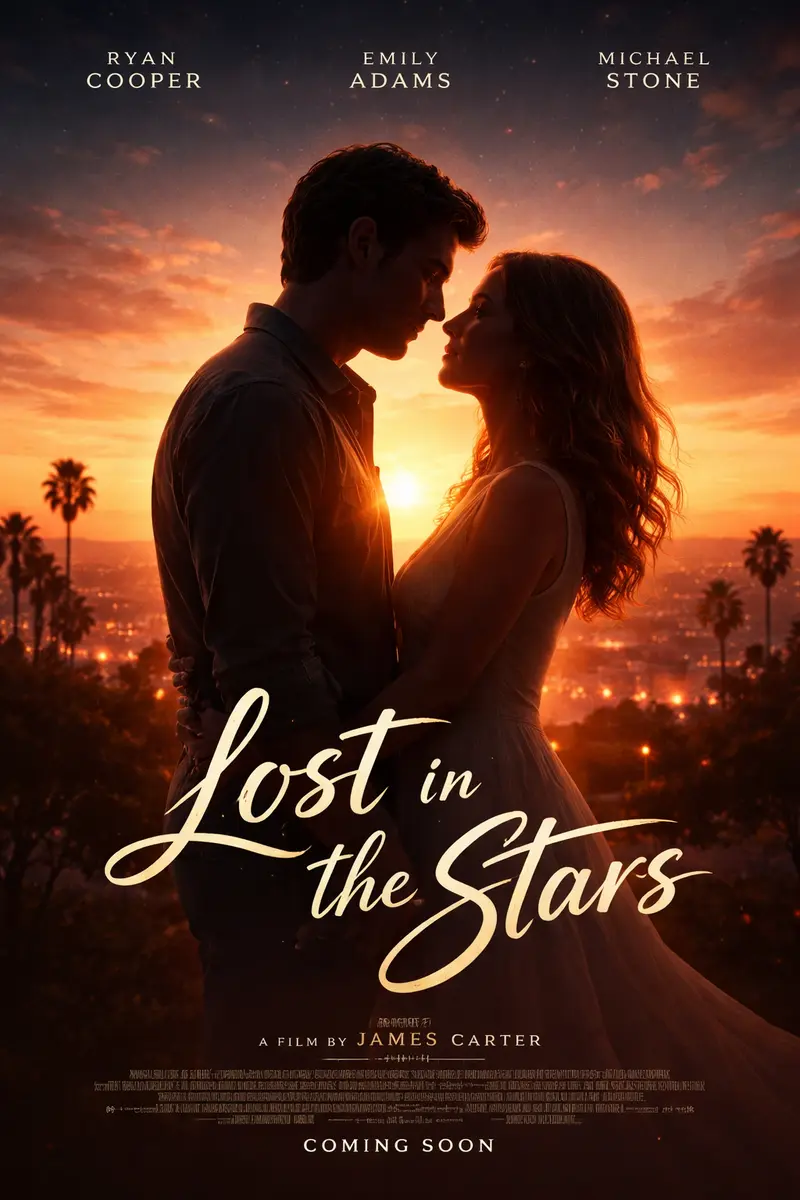
A personalized birthday movie poster turns a photo of the recipient into the lead image of an imagined film. The useful version of this gift goes beyond putting a face on a dramatic background: choose a scene that means something to them, add accurate birthday text, and check the file before spending money on a print.
Start with the photo-to-movie-poster tool if you already have a portrait. This guide takes you through the decisions between that photo and a framed birthday gift, including the parts AI cannot reliably finish for you. Generate Poster creates the digital artwork; a print and frame are separate purchases.
What makes a personalized birthday movie poster personal?
One recognisable person, one visual mood and one shared detail are enough. A portrait of your friend as the star of a cycling adventure feels more personal than a generic blockbuster background. The birthday name or age can complete the gift, but the image should still make sense without reading the caption.
Write a short brief before opening the builder. For example: “For Maya's thirtieth; she loves late-night city rides; warm orange and deep blue; something she would hang in her flat.” That gives every later choice a purpose. It also stops the design becoming a list of balloons, champagne, fireworks and unrelated hobbies.
Think about where the gift will live. A quiet portrait can work on a bedroom wall; a deliberately ridiculous action scene may be better for the party itself. If the person dislikes seeing their own face on display, make the artwork about their favourite place or pastime instead. The personalized poster gift guide covers those alternatives.
Which photo should you use?
Use the original, sharpest portrait you can find, with both eyes visible and even light across the face. A natural phone photo near a window is a better starting point than a tiny screenshot with a heavy filter. Start with one person so the intended subject is unambiguous.
Check the source at full size. If eyelashes and the outline of the mouth are already blurry, cropping tighter will not restore them. Avoid sunglasses, hands across the face and dramatic shadows hiding half the features. Leave some space around the head: the final poster may need a different crop from the source.
Choose a photo the recipient actually likes. A technically sharp picture that catches an awkward expression is a weak gift reference. For a surprise, use a photo you can appropriately upload; a publicly visible portrait is not a reason to disregard the person's wishes. If you only have a group shot, crop to the intended recipient first.
Which movie-poster style suits a birthday gift?
Choose the genre from the person, rather than from the most dramatic example in a gallery. A film enthusiast might enjoy noir, a runner might prefer a sports-documentary portrait, and a friend with a dry sense of humour might enjoy an exaggerated adventure. Keep the face clearly visible whichever direction you choose.
| Direction | Personal detail to include | What to keep simple |
|---|---|---|
| Warm cinematic portrait | A meaningful city or favourite colour | Background detail behind the face |
| Sports documentary | Their actual activity or a familiar setting | Equipment, limbs and any jersey lettering |
| Playful adventure | One shared joke or favourite destination | Explosions, costume changes and extra characters |
Describe light, colour and composition in your own words. An original “rainy city, amber streetlights, a confident central portrait” gives you a clear brief without requiring a copied film title or logo. For more starting points, use the movie-poster prompt guide.
This existing gallery example illustrates warm light and a restrained background. Your uploaded photo and chosen description will produce a different result; it is not a before-and-after demonstration of the prompts below.
How do you make it with Generate Poster?
Open the photo-to-movie-poster flow, upload the recipient's portrait and describe the scene you want around them. Start with a free preview if it is available on your account. Judge the person and composition first; choose a paid generation when the direction is worth developing for your gift.
Keep the description focused on the scene. The photo supplies the identity; your text supplies the location, lighting, palette and framing. If the result misses, change one element rather than replacing the photo, style and description together. The general photo-to-poster tutorial explains that workflow in more detail.
These are adaptable starting prompts, not guaranteed outputs. Replace the setting with something the recipient recognises.
A warm portrait for a milestone birthday
Cinematic portrait of the uploaded person beside a quiet riverside at sunset. Warm amber light, deep blue shadows, a natural expression and one clear main subject. Leave generous uncluttered space above the head for a birthday title to be added later. No lettering in the artwork.
A sports-documentary gift
Sports-documentary poster of the uploaded person at the edge of a running track before sunrise. Soft stadium lights, a calm confident pose, navy and warm gold palette. Keep the face unobstructed and the background simple. Leave a clean lower area for text to be added later. No lettering.
A playful adventure for a film-loving friend
Adventure-film portrait of the uploaded person on a windswept coastal path. Dramatic clouds, warm light on the face, one distant lighthouse and a slightly larger-than-life mood. One main character, no crowd. Leave open sky for a title to be added later. No logos or lettering.
How do you add a name, age and birthday date?
Add exact names and numbers after generating the artwork, using a layout editor you already know. Ask for empty space where the title belongs, then place real text over the downloaded image. This gives you direct control over spelling and positioning instead of relying on letters painted by an image model.
Use a short title: “Maya: The Next Chapter” is easier to set than a full paragraph. Put the birthday age or date on a smaller second line, and use one or two fonts. Check accents, apostrophes and every digit. A subtle typo can survive a quick screen glance and become obvious in a frame.
Set the document to the intended print shape before adding text. Keep names away from the outer edge, where trimming or the frame can hide them. Export without reducing the original image dimensions accidentally. If the artwork already contains unwanted lettering, remove it in your editor or try a cleaner generation rather than building more text on top.
What is free, and what are you paying for?
The free preview is a way to explore the idea. A paid generation uses one credit for two premium image versions when both images succeed; a failed result can require a retry. Check the displayed pack price before checkout. Generating artwork, printing it and buying a frame are different costs.
The paid run creates new images. It should not be treated as an exact upscale of the free preview: a facial expression, background or crop can change. Compare the paid results separately and choose the one that best suits the recipient, rather than assuming the first returned image is the keeper.
You also need to check the downloaded file. “Print-quality” does not mean every image can be enlarged to any wall size. The right choice depends on its actual pixels and the printer's requirements. Decide how much you want to spend on the complete gift before generating extra alternatives.
What size can you print your birthday poster?
Check pixel dimensions and aspect ratio before choosing a frame. A tall 2:3 file fits an 8 × 12 inch or 20 × 30 cm shape, while A4 and A3 use different proportions. Fitting a 2:3 image onto those paper sizes requires a border or a crop; stretching it changes the face.
For a planning example at 300 pixels per inch, multiply each print dimension in inches by 300. These are calculated targets, not a promise of Generate Poster's output dimensions:
| Print size | Pixel target at 300 ppi | Shape |
|---|---|---|
| 20 × 30 cm | ≈2362 × 3543 | 2:3 |
| 30 × 45 cm | ≈3543 × 5315 | 2:3 |
| 8 × 12 inches | 2400 × 3600 | 2:3 |
| 12 × 18 inches | 3600 × 5400 | 2:3 |
| 16 × 24 inches | 4800 × 7200 | 2:3 |
Conversely, divide a file's dimensions by the planned print dimensions to calculate its effective ppi. A 2400 × 3600 image printed at 12 × 18 inches gives 200 ppi, rather than 300. Ask your printer whether that suits the paper and viewing distance. Adobe explains the relationship between image dimensions and printed size.
Changing a resolution label alone does not add detail. Keep the original download, and ask the printer about a suitable smaller print before attempting a major enlargement. For a close-viewed birthday gift, a modest sharp print can be a better choice than an oversized soft one.
What should you check before printing?
Inspect the selected file at full size, especially the face, hands, props and any text. Then preview the actual crop. The important question is whether the recipient will recognise themselves and enjoy the result, not whether it looks impressive as a small thumbnail.
| Problem | First change to try |
|---|---|
| The face looks like a stranger | Use a clearer portrait and simplify the scene description |
| The image is too busy | Remove extra characters, objects or competing style directions |
| The title is misspelled | Add exact text separately instead of regenerating for spelling |
| The frame cuts off the head or title | Choose a matching shape or add a border before ordering |
For more troubleshooting, read the AI poster design tips. Once the artwork works, ask the print shop for a preview or proof and confirm the finished size. Check turnaround, collection or delivery before promising the gift for a particular day. If the deadline is tight, a local printer may be simpler than shipping, but confirm availability yourself.
Frequently asked questions
Can I make a birthday movie poster from a phone photo?
Yes. Choose the original phone photo with a clear, well-lit face rather than a screenshot or a compressed copy from a chat. One person is the simplest starting point. Review the generated face before downloading, because a good source photo helps but does not guarantee an exact likeness.
Can I add the birthday person's name and age?
For exact spelling and numbers, add the name, age and date in a separate layout editor after generation. Leave space in the artwork for them. AI-generated lettering can be wrong even when it looks convincing at first, so proofread the final file at the size you plan to print.
Does Generate Poster print and deliver the gift?
This workflow produces a digital poster file. Printing, a frame and delivery are separate arrangements with your chosen printer or shop. Choose the final print size after checking the downloaded file's pixel dimensions, and confirm the printer's turnaround before planning a birthday surprise.
Will a paid generation be the exact same image as the free preview?
Do not expect an identical enlargement. A paid generation creates new versions, so details and composition can change. The free preview helps you explore the direction; inspect each paid result independently for likeness, unwanted text and print suitability before choosing the file for your gift.
How big can I print my birthday poster?
It depends on the downloaded image's pixel dimensions, the print shape and your printer's requirements. Divide pixels by the chosen pixels per inch to find the corresponding size in inches. A 2400 by 3600 pixel file, for example, corresponds to an 8 by 12 inch print at 300 ppi.
Make the birthday gift from your photo
Choose the portrait first, then one scene the recipient will recognise. Review the artwork, add accurate text and match the file to a sensible print size. When you are ready to try the image, create your birthday movie poster from a photo. For a more explicitly festive direction, the birthday poster maker is another starting point.